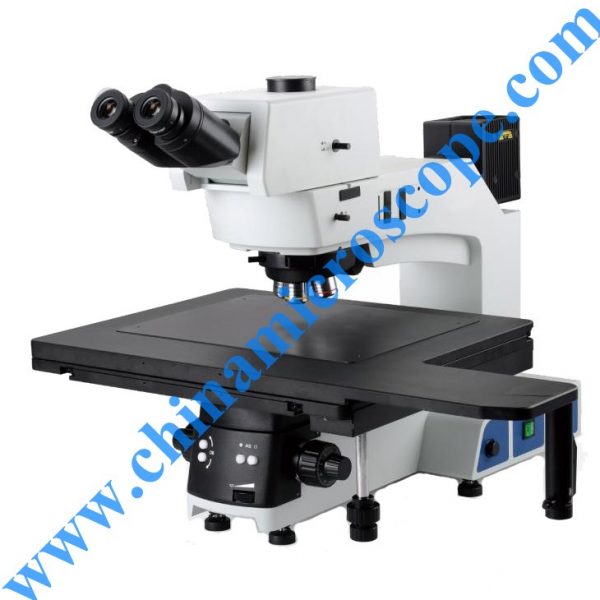
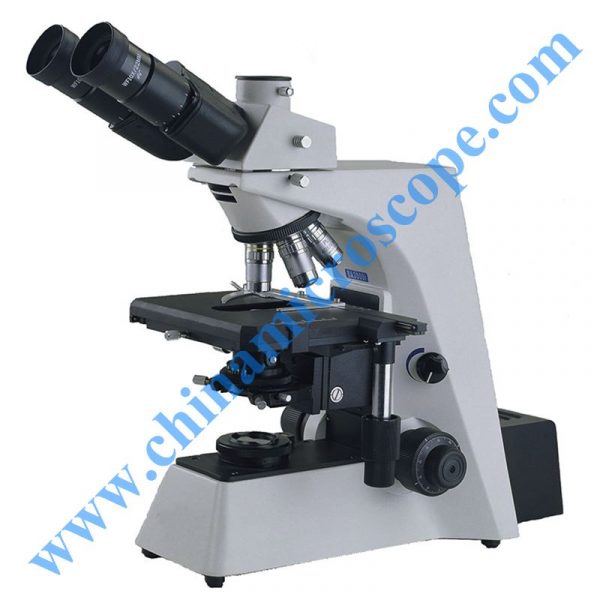
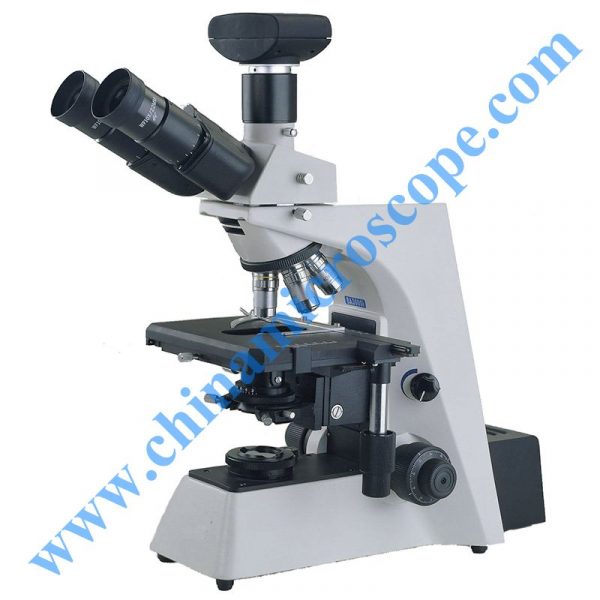
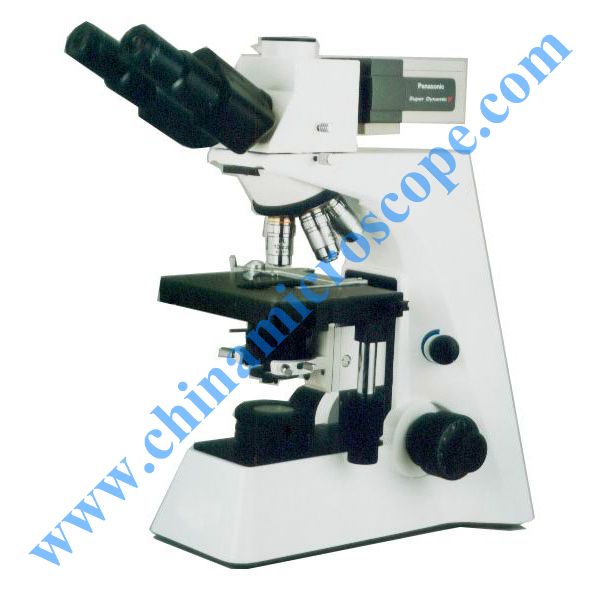
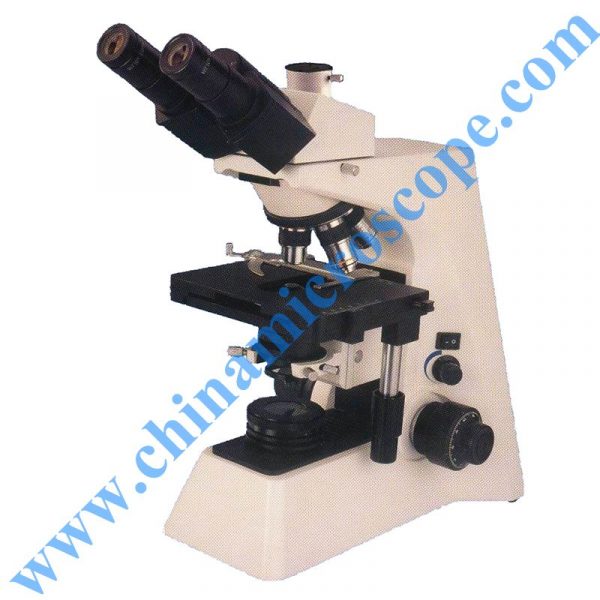
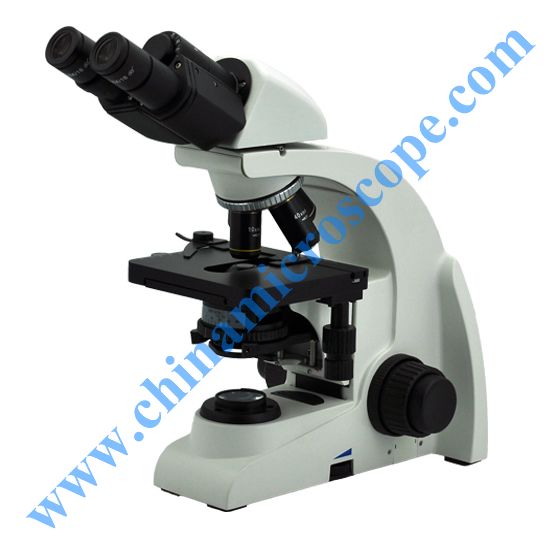
MIC-ZFA 2010 measurement microscope with split-image function is independently developed by our company. It is based on image measurement principle, uses detection of optical focal point method to do non-contact height difference measurement. It can not only observe surface states of measured point, but also carry out measurement for height, depth and height difference. This instrument also has ability to observe light and dark file, polarized light, so it is particularly suitable to be used to observe height difference with very little gap、inclusion、protuberance and very little scratches.
This product is applicable to detection and observation for silicon wafer、IC、LCD、TFT、PCB、MEMS laser processing、wafer testing、semiconductor material、wiring hardness etching、LCD battery cover、wiring frame product etc.
It is also be able to used to micro-observe geometrical shape and has three-dimension measurement function as well. As such, it can be an essential instrument in the industry of precision parts, integrated circuits, semiconductor chips, PV cell and optical materials etc.
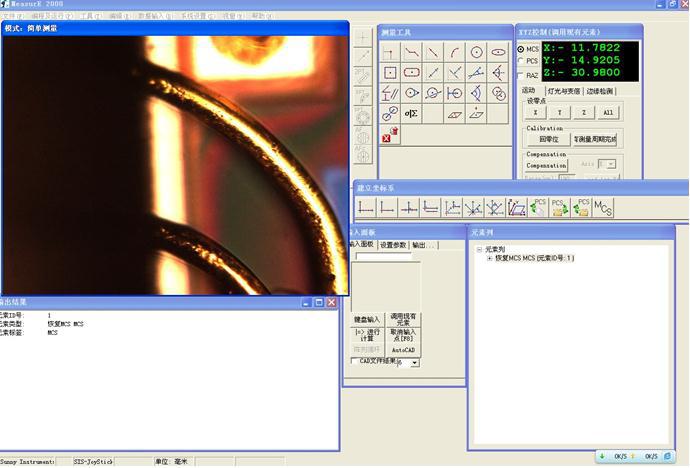
Software User Interface:
| Model | MIC-ZFA 2010 Measurement Microscope |
| Measuremen trange | 200*100*50mm |
| Accuracy(unit:mm) | uni-axial XY:(3 + 5L/1000)μm |
| Z-axis (@magnification 20X, 50X) :(2.5 + L/100)μm | |
| resolution | 0.0005 mm |
| Light source | 1、coaxial light source:while LED cold light source,
variable aperture grating,adjustable center; variable view field grating,adjustable center; |
| 2、rimming light:while LED rimming rimming lighting | |
| Camera lens specification | 5X (WD=10.8mm),10X(WD=10mm),20X(WD=11.1mm),50X(WD=7.8mm) |
| Tee observation tube | 25° tilted hinged positive image tee observation tube |
| converter | Localization within 5-hole Converter |
| Polarizer plugged board | Fixed polarizer plugged board (used to reflect) |
| Analyzer plugged board | 360° rotary analyzer plugged board (used to reflect) |
| Image taking system | 1/3″ color USB-CCD camera, scan line by line,Japan SenTech |
| Instrument structure | 1、Cast Iron base guarantee overall stability,horizontal glass working table |
| 2、seamless rod object stage guarantee measurement accuracy | |
| 3、advanced split-image auxiliary auto-focus (FA) function, ensures high precision of measurement result in z-axis | |
| 4、high-precision grating rules are equipped in XYZ axis | |
| 5、instrument platform is equipped with horizontal gasket | |
| Measurement software | Measure 2000 |














评价
目前还没有评价