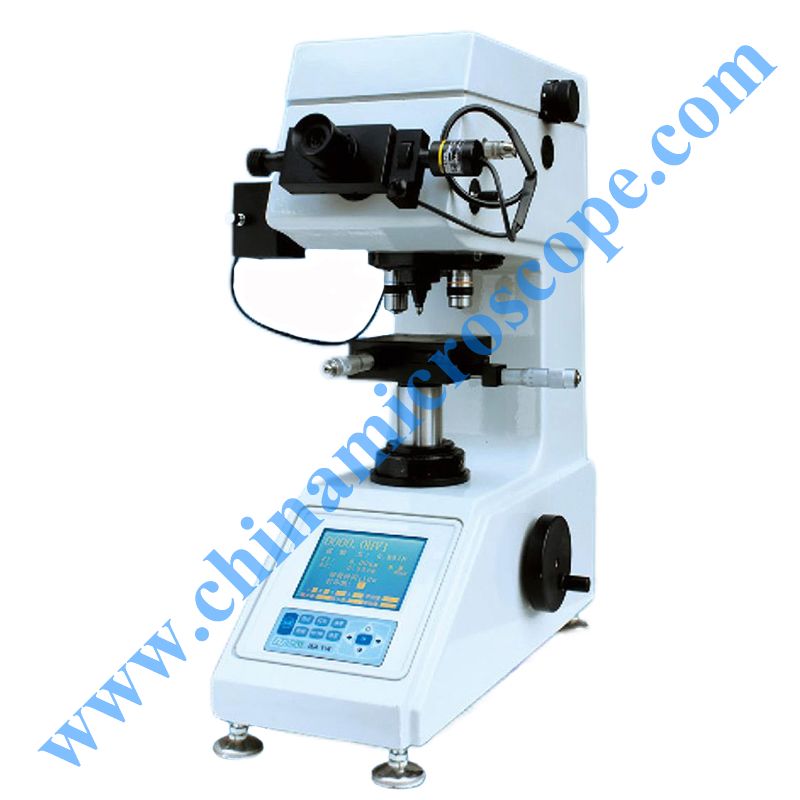
310HVS-5 DIGITAL DISPLAY VICKERS HARDNESS TESTER
Feature & Use:
* Automatic turret shifting between penetrator and objective lens, RS232 data interface, built-in printer
* Hardness conversion between different hardness scales
* Automatic testing process
* Knoop indenter is optional for Knoop hardness testing
* Precision conforms to GB/T 4340.2, ISO 6507-2 and ASTM E92
It’s suitable to determine the Vickers hardness of steel, non-ferrous metals, ceramics, treated layers of metal surface, and the hardness grads of carburized, nitrided and hardened layers of metals. It is and also suitable to determine the Vickers hardness of micro and super thin parts.
Specifications:
Measuring range: 5-3000HV
Test force: 1.961, 2.942, 4.903, 9.807, 19.61, 24.52, 29.42, 49.03N
(0.2, 0.3, 0.5, 1, 2, 2.5, 3, 5kgf)
Hardness scale: HV0.2, HV0.3, HV0.5, HV1, HV2, HV2.5, HV3, HV5
Measuring accuracy of micrometer: ±0.2μm
Resolution of micrometer: 0.01μm
Test force dwelling time: 5~99 seconds (1 second for incremental quantity)
Optical system:
Objective lens: 10X (for observation), 40X (for measurement)
Ocular lens: 10X
Total magnification: 100X (for observation), 400X (for measurement)
Range of measurement: 800um
Max. Height of specimen: 70mm
Depth of throat: 110mm
Size of XY coordinate worktable: 100×100mm
Travel of XY coordinate worktable: 25×25mm
Resolution of XY coordinate worktable: 0.01um
Optical source: 12V/20W
Language: Chinese/English
Power supply: 220V/110V, 50Hz/60Hz
Power consumption: ≤50W
Overall dimensions: 320×470×560mm
Weight: 58 kg
Standard accessories
Coordinate anvil: 1 pc.
Thin shaft anvil (Ø 0.3- Ø 5mm): 1 pc.
Thin plate anvil: 1 pc.
Flat nose pliers: 1 pc.
Large V-notch anvil: 1 pc.
Small V-notch anvil: 1 pc.
Diamond pyramid penetrator: 1 pc.
Vickers standardized block: 2 pcs.
Micro-Vickers standardized block: 1 pc.
Optional accessories
RS232 software
Knoop penetrator
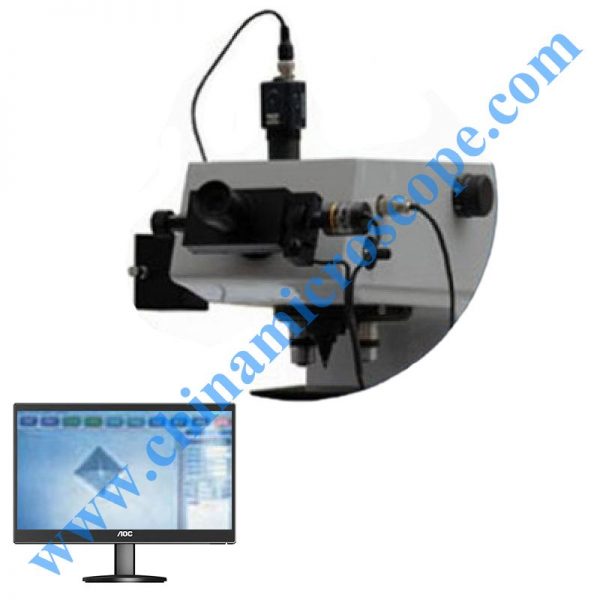
SP-5 Vickers video measuring apparatus
CCD camera and image processing system

















评价
目前还没有评价