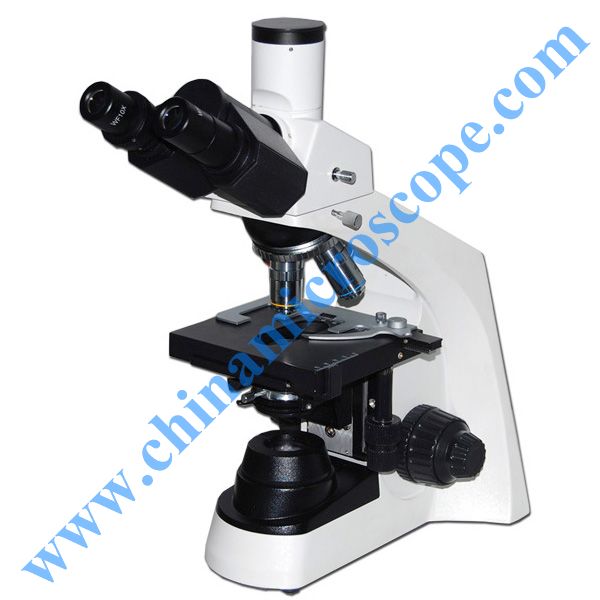
MIC-JX13C universal computer multipurpose toolmaker’s microscope for image processing
Characteristics:
- The imported precision grating system is adopted as the sensory element; with numerous strong points of low heating power, corrosion resistance, pollution resistance, good vibration strength etc.
- The microscope, with powerful image processing software, can complete complicated measuring work, with its software data communicating with CAD to complete the surveying and mapping work.
- The semi-conducting laser as a sensor finder is used for speedily defining the measuring location, thus upgrading the efficiency of image locating.
- The software of digital imaging technology is adopted to automatically identify the outline boundary and to reduce human caused errors, thus upgrading the operational efficiency.
- With a digital display rotary table and a height-measuring device; all measured results of angles and heights can be digitally displayed, direct and convenient.
- The LED cold light source is adopted for the whole lighting device, with low heating power and long life.
- The master microscope can out-beat left and right, suitable for the measurement of helical parts.
Technical Parameter
Worktable:
Stroke of measurement: X-coordinate: 200mm Y-coordinate: 100mm
Resolution ratio of X- and Y-coordinate measurement: 0.0002mm
Accuracy of the X- and Y- coordinate: (1+L/100)μm, of which L=length of the measured work piece, unit: mm
Area of square worktable (mm) 260×270
Maximum height of the stored work piece on the square worktable (mm): 140
Microscope upright column
Angle tilting range:±12° Angle tilting division value: 30′
Objective
| Objective Magnification | 1X | 3X | 5X |
| Working distance | ≈82mm | ≈70mm | ≈49mm |
| Visual field (mm) | 6.0×4.0 | 2.0×1.5 | 1.5×0.9 |
| Screen image range(mm) | 1/2〃≈5.2×4.1 | 1/2〃≈1.7×1.4 | 1/2〃≈1.0×0.8 |
| 1/3〃≈4.1×3.1 | 1/3〃≈1.4×1.0 | 1/3〃≈0.8×0.6 |
Tailstock
Maximum diameter gripped by the tailstock: Φ100mm
Maximum length gripped by the tailstock: 700mm
Higher Tailstock
Maximum diameter gripped by the higher tailstock: Φ250mm
Maximum length gripped by the higher tailstock: 200mm
Digital display index head
Angle measuring range: 0°–360°
Resolution ratio of the angle measuring: 5〃
Accuracy of the angle measuring: 30 〃
CCD camera head
1/2〃or 1/3〃 black&white (or colored )CCD Pixel: 795×596
Optional position indicator
Minimum detection aperture:Φ5mm
Maximum detection depth: 15mm Metering force: 0.1N
Locating stability: 0.001mm Limit error gauged for head diameter: 0.0005mm
Maximum load of the instrument: 40KG
Overall size of the main machine of the instrument: (LxBxH)=1300x1250x800
Weight of the main machine: 450KG
Ambient environment of the instrument service: room temperature: 20℃±1℃
Relative humidity: Not more than 60%














评价
目前还没有评价