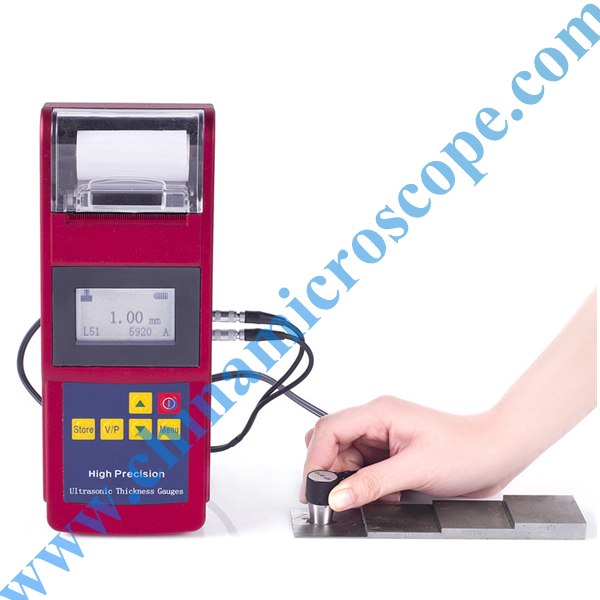
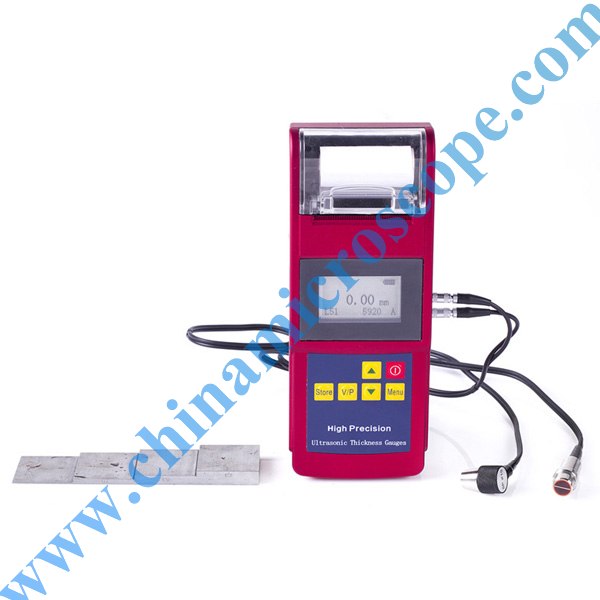
MIC-L352 Ultrasonic Thickness Tester
| Measuring range(mm) | 0.75 ~ 300 |
| Resolution(mm) | 0.01 |
| Accuracy(mm) | ±(1%H+0.1) |
| Velocity range(m/s) | 1000 ~ 9999 |
| Memory | 2000 groups |
| Velocity measurement | √ |
| English Menu | √ |
| LED backlight | √ |
| Operating temperature | -10℃~60℃ |
| Dampness | 20%~90% |
| Dimensions | 230×86×46mm |
| Power supply | 6V rechargeable Lithium-battery |
| Weight | 400g |
| Optional Accessories | Probes,Couplant,Paper for printer,Charger, Stairs shape test piece. |
| Standard Delivery | Probes,Couplant |
Function & Feature:
Built in rapid thermal printer.
Automatic proofreading zero, on the system error correction.
Data transmission: RS232 interface, can be connected to the PC.
The unit of measurement, metric, inch optional.
A two-point calibration, can improve the accuracy of measurement.
Rechargeable Lithium battery.
Battery information indicates the rest capacity of the battery,Auto sleep and auto power off function to conserve
battery life.
Display: LCD with LED backlight .The brightness and the contrast of the LCD is adjustable. And thickness
value, coupling condition, power state, CAL calibration state, sound velocity.
Able to measure the ultrasonic velocity in turn if the thickness value is known in order to improve the
measurement precision.
A two-point calibration, can improve the accuracy of measurement.
Nonlinear correction, automatic compensation, in order to improve the measurement accuracy.
Alarm function: setting the measurement limit and alarming for the results beyond the limit.
New design shell.
Application Fields:
Widely used in petroleum, chemical industry, metallurgy, shipbuilding, aerospace and other fields.
Measuring Material:
Adapted to measure the thickness of good conductor for ultrasonic, such as metal(steel, cast iron, aluminum,
copper), plastic, ceramic, glass, glass fiber and so on.















评价
目前还没有评价