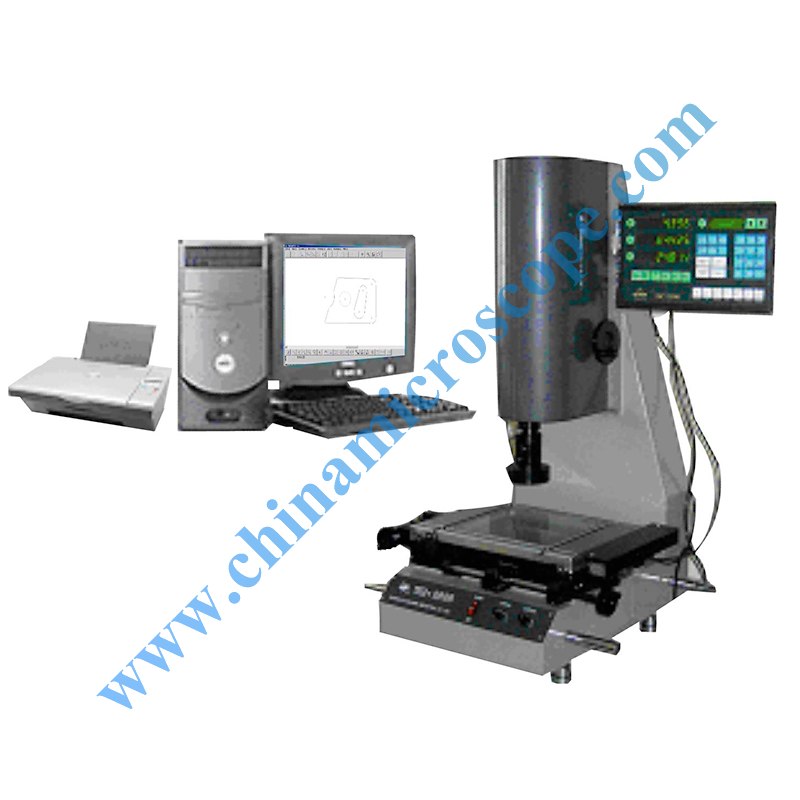
VM Series Image Measuring Instrument
VM series Image Measuring Instruments are only apply to two-dimensional measurement for the purpose of all applications. Two-dimensional image measurement procedures can be intelligence measurement, simple, powerful, widely used in machinery, electronics, instrumentation, plastics and other industries.
Zoom lens system, cross line generator and display as image acquisition and targeting systems, particularly with automatic workpiece edge and put functions.
Specifications:
- Measurement table and equipment basic size(see table below)
| Product series | VM-1510 | VM-1510E | VM-3020 | VM-3020E | |
| Magnification zoom lens | 0.7~4.5× | 0.3~1× | 0.7~4.5× | 0.3~1× | |
| Import original color CCD camera | 1/2″ | 1/3″ | 1/2″ | 1/3″ | |
| Worktable | Mobile range X-Y(mm) | 150×100 | 300×200 | ||
| Metal table(mm) | 355×240 | 500×300 | |||
| Glass table(mm) | 210×175 | 350×280 | |||
| Net Weight(kg) | 140 | 150 | |||
| Size L×W×H(mm) | 560×500×900 | 670×660×950 | |||
| E models with zoom lens of domestic product configuration, and the remaining allocation of imports of zoom lens | |||||
- Digital display resolution:0.001㎜
- Objective lens work distance:92㎜
Electronic magnification:26~168×(17″display、resolution of 1024×768)
Object field:10.6~1.6㎜
- 4.Z-axis movements:150㎜
- 5.Lighting system:contour lingting and surface lighting are both LED
- Accuracy: X,Y-axis accuracy:(3+L/75)μm, L is measuring length,unit:mm
Z –axis accuracy: ≤0.01㎜。















评价
目前还没有评价