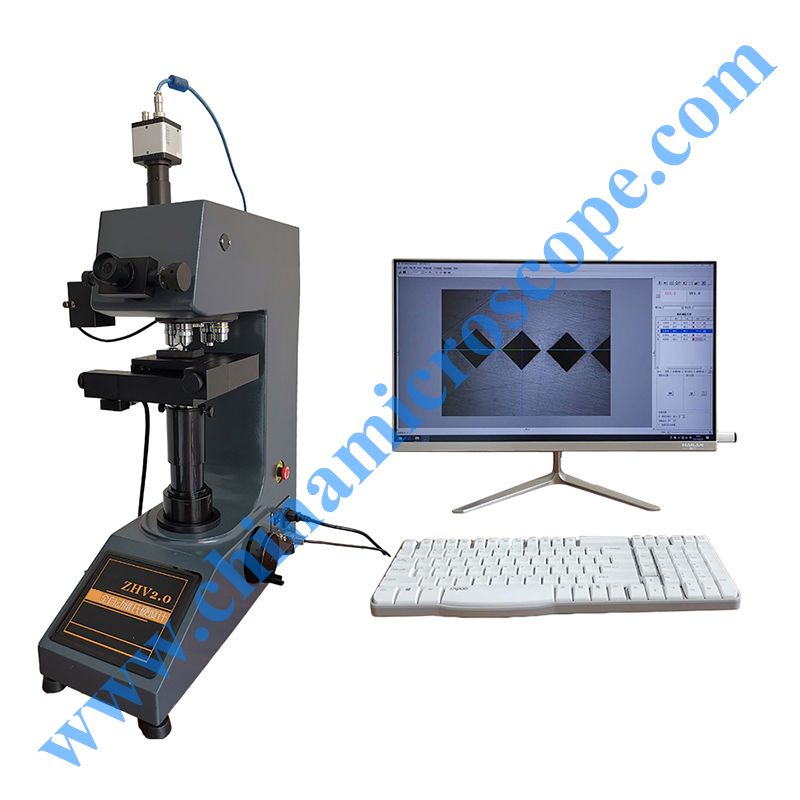
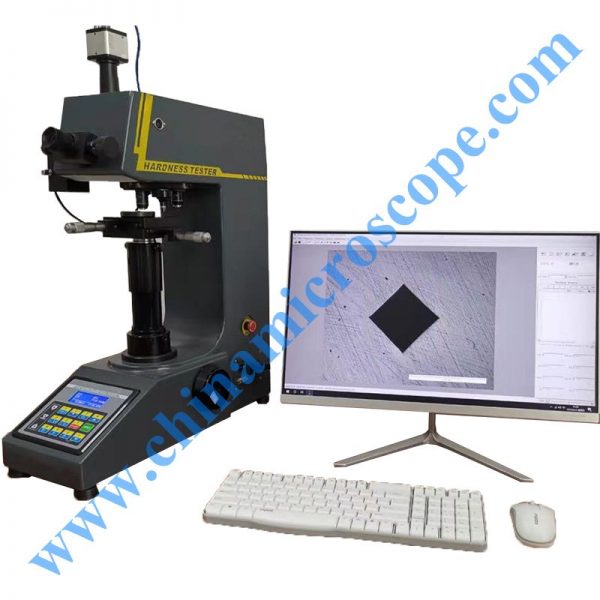
ZHV2.0 automatic micro Vickers hardness tester
The automatic Vickers hardness measurement system integrates various professional technologies such as optical imaging, mechanical displacement, electronic control, digital imaging, image analysis, computer processing, etc. the control of Vickers hardness tester and automatic stage is realized through the computer host, and the hardness indentation is digitally imaged on the computer screen, and then the metal, some non-metallic materials and various films are accurately measured through automatic reading, manual reading and other means Microhardness, nitrided layer, carburized layer, gradient of quenched and hardened layer, depth of hardened layer, film thickness, two-point spacing, etc. of the coating. It can also photograph metal surface morphology and print at fixed magnification. This system breaks through the traditional hardness testing method and realizes the semi-automatic, high-precision and high repeatability hardness testing. It is an important equipment for material analysis.
Introduction
In the automatic Vickers hardness measurement system, the host computer controls the action of Vickers hardness tester and receives the corresponding information of the hardness tester through RS232 serial port; The computer host controls the platform control box through the RS232 serial port, and controls the movement of the automatic stage and receives the corresponding information through the platform control box; The optical signal of the indentation pressed by the Vickers hardness tester is imaged on the computer display through the digital camera, and then the Vickers hardness value is measured through automatic and manual reading. This system has the function of direct control over the main machine of the hardness tester. At the same time, it has automatic measurement, manual measurement and other hardness measurement methods, with high precision and good repeatability. The measurement results can be output in word, Excel and other formats.
Main functions
System linkage: realize the linkage between the system and the hardness tester through the serial port communication of the hardness tester.
Pressure linkage: when the hardness tester test force is converted, the system senses the change of the test force and displays it in the system in real time.
Turret linkage: the hardness tester is controlled by software to switch between objective lens and indenter, without manual control of the hardness tester.
Loading linkage: the software controls the hardness tester to load without manual control.
Auto focus: auto focus can be completed automatically. (optional)
Measurement linkage: the software controls the turret of the hardness tester, loads and directly reads the Vickers hardness value.
Image acquisition: real time display of hardness image, storage and printing of image.
Automatic measurement: automatically find out the four vertices of indentation, with fast speed and accurate data. There are a variety of professional algorithms to apply to different indentation. Continuous drilling and measurement, immediate drilling and measurement, and specified coordinate pressure.
Automatic point finding: take points near the four vertices of the indentation, and the system will automatically find the best vertex, greatly reducing human error.
Diagonal measurement: point the upper left and lower right corners of the indentation to read out the hardness value.
Four point measurement: take four vertices of the indentation and read out the hardness value.
Micro force measurement: specially designed for professional functions, it can magnify the indentation under micro pressure test force (10GF, 25gf, 50gf) in real time without reducing the resolution and improving the measurement accuracy.
Hardness Conversion: according to the national standard or American Standard, the Brinell Rockwell Vickers Knoop and other hardness values are automatically converted and displayed in real time.
Graphic report: automatically record measurement data, automatically generate hardness depth curve, save or print hardness depth curve and all indentation measurement values. Save or print the indentation image and the current indentation hardness value. All reports are saved as word documents.
Result statistics: the measurement results of multiple indentations are exported in Excel data format, and the measurement times, hardness * * large value, * * small value, mean value, mean square error, etc. are automatically counted.
Performance
Linkage control: the system senses the change of test force, controls the turret of hardness tester, loads and directly reads through serial port communication.
Automatic displacement: configure high-precision X-Y automatic platform.
Automatic recognition: the indentation automatic recognition technology of Lin * can read d1/d2 and HV values within 0.3 seconds.
Stable performance: for non mirror polishing, uneven light, indentation not in the center can be read automatically.
Powerful functions: manual reading, automatic reading, hardness conversion, depth hardness curve, indentation image, graphic report function.
Contour scanning: it can scan the whole contour of the product along the edge of the workpiece, which is convenient for the operator to set the path or directly select points for measurement.
Easy to use: the hardness block is used for calibration, which conforms to the daily habits of users. After half a day of training, it can be used normally.
Automatic reading: the original automatic reading algorithm can automatically read various indentations with high speed and accuracy.
Good repeatability: the automatic reading has high repeatability and meets the professional requirements of users.
Parameters:
Test force gf 10gf, 25gf, 50gf, 100gf, 200gf, 300gf, 500gf, 1000gf
N 0.098N, 0.246N, 0.49N, 0.98N, 1.96N, 2.94N, 4.90N, 9.80N
Hardness test range 1HV-3000HV
Test mode HV/HK
Loading method Direct digital control, automatic loading and unloading of test load
Test force application method Automatic (load / hold / unload)
Objective lens and indenter switching Auto switch
Exchange Scales HK, HRA, HRB, HRC, HRD, HRE, HRF, HRG, HRK, HR15N, HR30N, HR45N, HR15T, HR30T, HR45T, HS, HB
data output: Word or excel reports and hardness curves can be generated
Hardness reading The computer displays the indentation image and automatically measures it
objective lense ten × (for observation), 40 × (for measurement)
eyepiece ten × Digital display micrometer eyepiece
Total magnification one hundred ×, four hundred ×
Eyepiece resolution zero point zero one μ m
Eyepiece optical number conversion automatic
Maximum measured length of eyepiece At 10 × 900um at 40 × 200um below
Indentation length digital display resolution zero point one μ m
Hardness value display resolution 0.1HV
Duration Time 0~60s
light source Halogen light source
X-Y automatic test bench Size: 110 × 110mm; Stroke: 50 × 50mm; Resolution: 0.002mm
Maximum height of specimen 100mm (customizable)
Distance from RAM center to machine wall 98mm (customizable)
lighting The brightness is adjustable, and the standard pulse width adjustment (PWM) mode is adopted to realize the real switch adjustment
Power Supply AC220V,50Hz
Executive standard ISO 6507,ASTM E384,JIS Z2244,GB/T 4340.2
Overall dimension: 480×325×545mm,Packing 600×360×800mm
Machine weight Net weight 31kg, gross weight 44kg
Standard configuration:
name quantity name quantity
Instrument host 1 set ten × Digital display micrometer eyepiece 1
Diamond micro Vickers indenter 1 ten ×, forty × objective lense 1 each
Weights 6 Weight shaft 1
Electric cross test bench 1 Sheet clamping table 1
Flat clamping table 1 Filament clamping table 1
Horizontal adjusting screw 4 PCs level 1
Fuse 1A 2 Halogen lamp 12V, 15~20w 1
power cord 1 piece bolt driver 2 pcs
Standard hardness block 400~500 HV0.2 1 piece Standard hardness block 700~800 HV1 1 piece
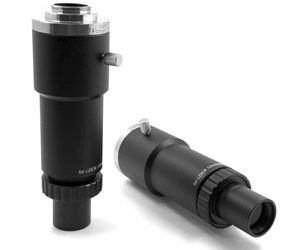
dust cover 1 Optical adaptor 1
USB dongle 1 camera 1
Desktop computer 1 set Ink jet printer 1 set
CCD camera 1 set Adapter pipe 1 piece
Software 1 set USB cable 1 piece
Electric platform 1 Electric platform controller 1 set













评价
目前还没有评价