Assistant focus, guarantee the precision of Z axis
Excellent optical system Suitable for the application of of microscope photographic devices.

High-brightness white LED illumination
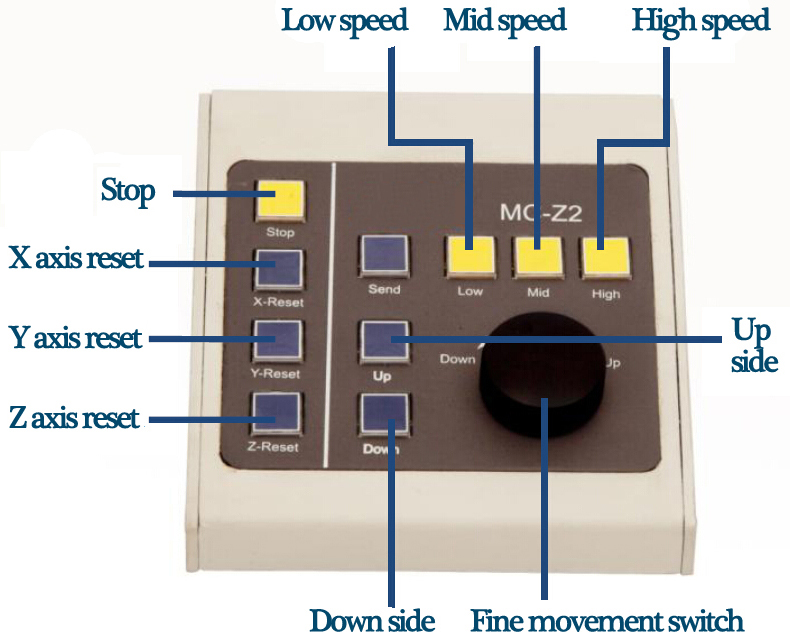
The Z axis electrical moving control Professional controller makes movement more easy and accurate

Inner fixed Z axis Linear grating ruler, when carrying on Non-contact height test can read data on Z axis

Perfect transmitting illumination,good for outline measurement precision
Characteristic:
A new optical system can produce clear as in large range
Domestic first ternary system measuring tool microscope
High numerical aperture objective lens MIC-SQ600 Series Special
Lighting system (reflection / transmission) High Brightness LED
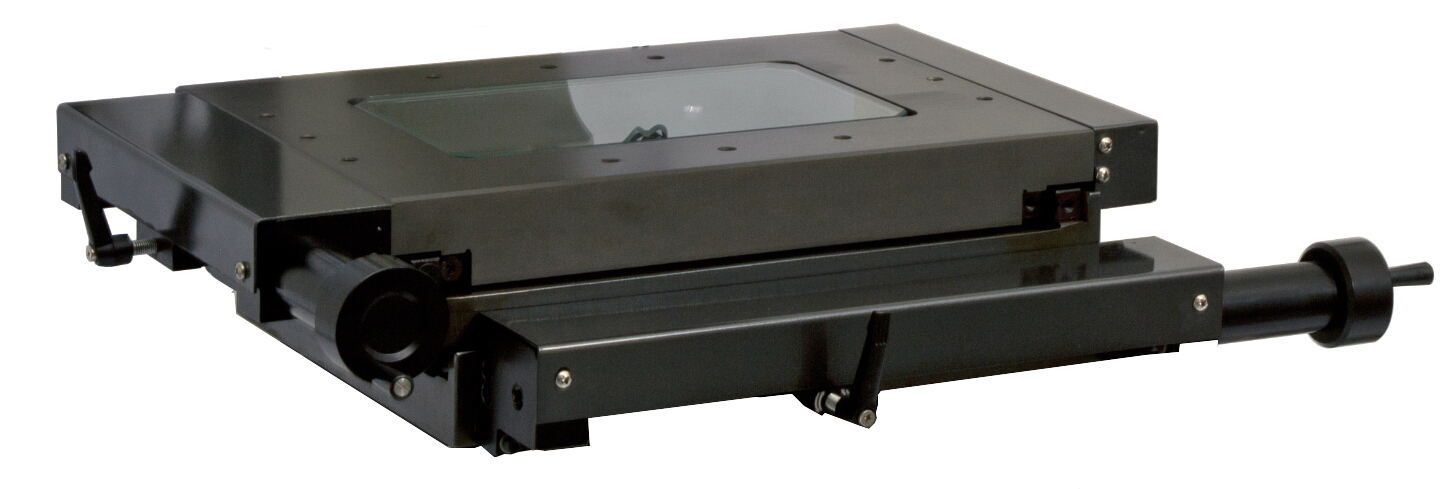
Workbench Standard size varied, up to 300 * 200mm
The measurement of large size or weight, can use the quick release device for rapid moving table
Standard high-precision electric focusing hand wheel, not only to meet the human body works, more suitable for different optical systems and measuring environmental requirements
This ensures that the exact aggregation and observation method, and has nothing to do with handedness
The detection of high magnification eyepiece magnification up to 100X
Standard measuring microscope, optional accessories include imaging system (video device) with a variety of digital CCD cameras
Low-noise design
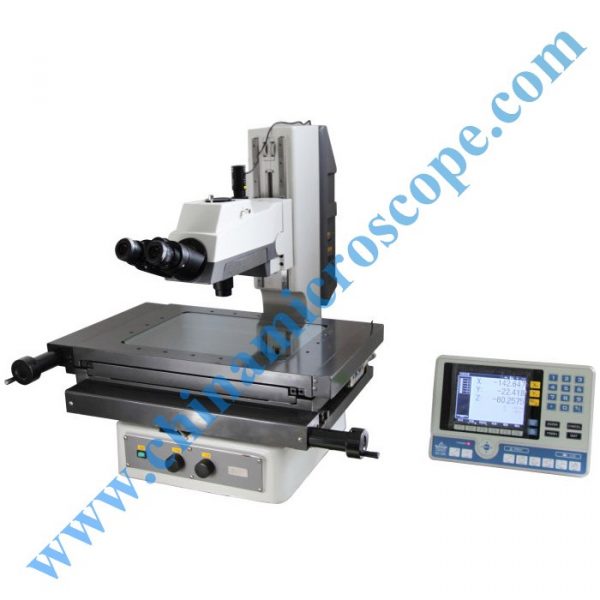
With automatic controller, users will experience more easier operation.minimum moving range is 0.1um, fully meets customers test efficiency and precision requirement.
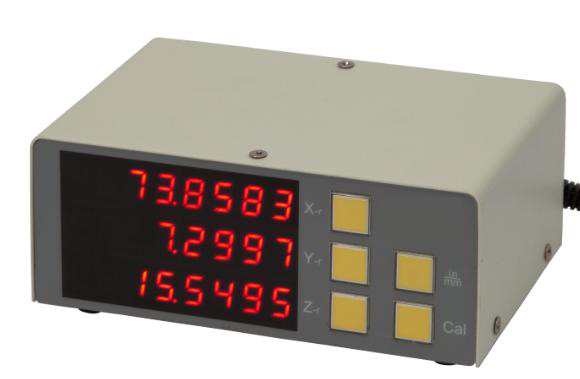
Digital display
Digital display applied on the microscope main body, it is fixed almost the same height as the tester field of view, very comfortable for operation, minimum move of X,Y,Z axis can be switched between 1um and 0.1um, digital display can be switched between mm and inch,support hardware linear compensation
Application field
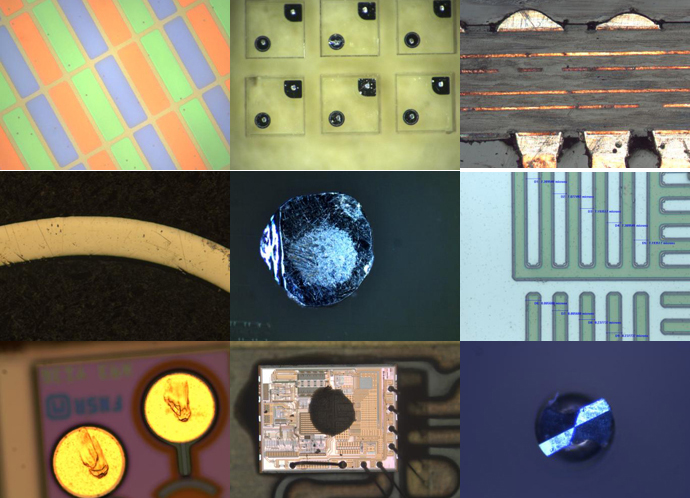
Semiconductor packaging Hard drive sliding head MEMS Injection molding parts
FPD panel Measurement precision knife Stamping parts Wafer level CSP
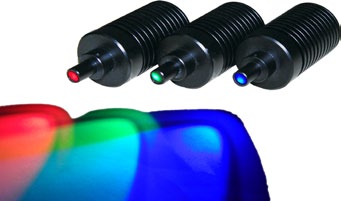
Long life time LED light, guarantee full illumination with over 20000 hours usage, avoiding the problem of changing halogen bulbs.
Measurement software

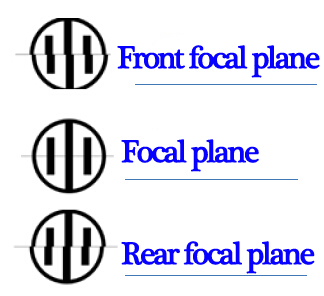
Focus assistance
During height test, due to the depth of field of objective, different operators judge the focal plane with their subject feeling, thus focus assistance offers one objective standard, avoiding utmost personal error
Large stage with firm Scratch resistant coating, makes your machine looks nice after long time usage.
| Model | VITT MIC-SQM-FA |
| The eyepiece lens | Binocular tube, with a standard camera interface; Cross (cross line);
Optical path switching (observed / camera =50/50) |
| The observed image | Positive |
| Methods of Observation | Bright field observations polarized light observation |
| Adjustable eyepiece diopter | 10/20x, 20x/16 optional |
| Objective | Standard lens 5x, 10x, 20x, 50x |
| Focusing System | Z-axis motor control (fast, medium and slow 3-way adjustable) |
| Lighting | Adjustable aperture, field of aperture |
| Light source | Transmission (led illuminator, collimated light) |
| Epi (led lighting, coaxial light) | |
| Measuring range | 300 * 200mm, 200 * 100mm |
| Quick release device | X and y axis standard |
| Length measuring system | High precision digital scale |
| Digital counters | Minimum reading 0.1um, RS232C output |
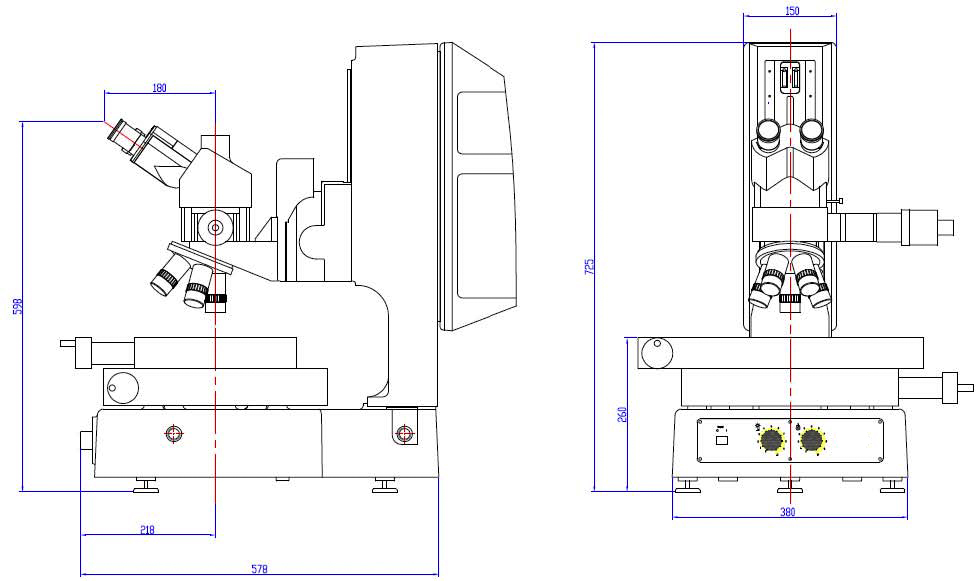
| External Dimensions (W * D * H) | 380*705*725mm |
| Measurement Accuracy | X and y: 3 + L/200 ,3-L / 200. L is the measured length |
| z-axis | Maximum stroke: 200mm |
| Focusing method: Electric hand wheel control adjustment (fast, medium and slow) | |
| Linear scale: built-in |
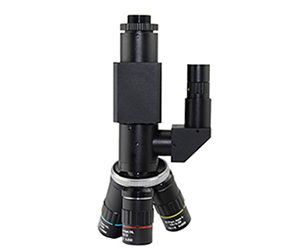
MIC-SQM-FA optical head Description
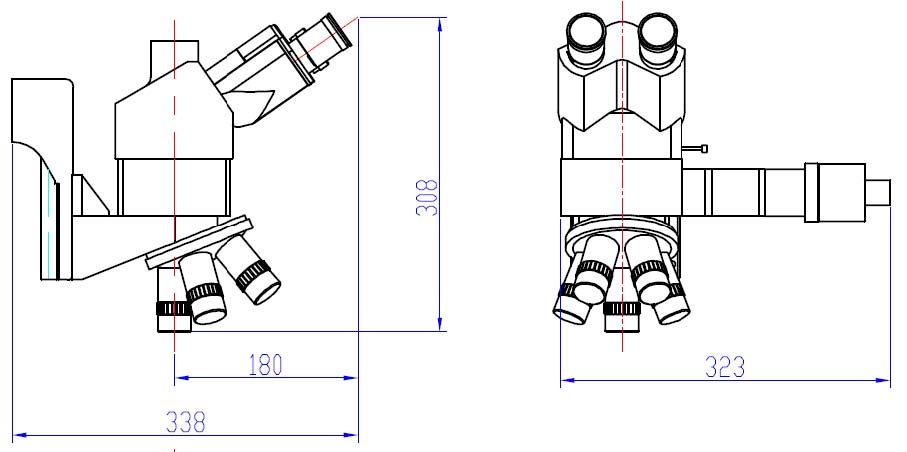
External dimensions (Unit: mm)
Objective
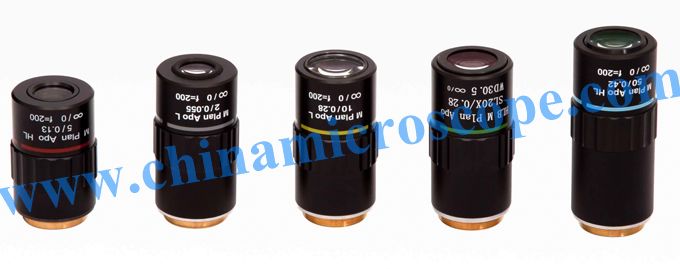
◆Focus is completed, long working distance objective lens between the top surface and the workpiece surface can have a wide space, easy operation on the workpiece.















评价
目前还没有评价